


Peppermint bark is an easy-to-make holiday treat. It consists of 3 ingredients – layered white and dark chocolate topped with crushed candy canes. It’s perfect for packaging as a sweet gift or enjoying as a festive dessert with hot chocolate.

I love the holidays and even more the holiday treats! Peppermint bark has always been a classic family favorite and this easier chocolate peppermint bark recipe is my new go-to this time of year.
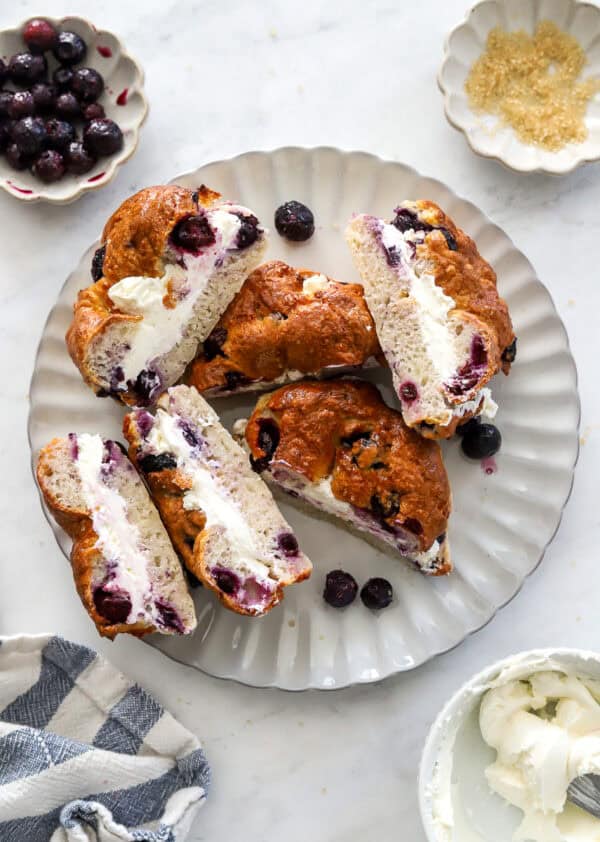
Along with my other bark recipes like chocolate strawberry bark, chocolate almond bark, and banana bark.
I have never tried making my own peppermint bark but once I tried it I was surprised how easy it was. I started with four ingredients but decided to eliminate the peppermint extract because I was just not loving the flavor. Of course, you can add it in if you want to. See the recipe card below.
Not only is this peppermint bark recipe very easy to make, but it’s also a wonderful homemade gift everyone will love! We have already given it to some of my kid’s teachers and they were overjoyed!
Why you’ll love this recipe
- Quick and simple to make – It is easy to make with 3 ingredients
- No-bake treat – A no-cook healthy dessert everyone loves
- Festive dessert – A yummy holiday dessert that everyone goes crazy for!
- Customizable – you can make it sugar-free, or dairy-free or fold in some protein powder for a protein bark!
- Holiday gift – It makes the perfect homemade festive gift!
Jump to:
- Why you’ll love this recipe
- Ingredients for chocolate peppermint bark
- Recommended Kitchen Tools
- How to make peppermint bark with 3 ingredients
- Expert tips for the best results
- Substitutions and variations
- How to store peppermint bark
- Can you freeze peppermint bark?
- FAQs
- More Healthy Sweet Treats
- Chocolate Peppermint Bark – 3 Ingredients
Ingredients for chocolate peppermint bark
This peppermint bark recipe is made with 3 simple ingredients. Here is what you’ll need:

- Dark chocolate – we used a dark chocolate bar but chocolate chips also work fine, you can also use sugar-free! You want to choose a high-quality chocolate.
- White chocolate – again, we used a white chocolate bar but white chocolate chips are also great in this recipe.
- Candy canes – we crushed candy canes for the peppermint filling and topping and they were the perfect addition to this peppermint bark recipe. Note: you can crush the candy canes easily yourself or buy crushed peppermint at almost any grocery store or on Amazon.
Recommended Kitchen Tools
- Knife
- Mixing bowls
- Measuring cups
- Baking pan – we used an 8×8 metal pan
- Parchment paper
- Rubber spatula
How to make peppermint bark with 3 ingredients
Here is a summary with step-by-step photos of how to make this homemade dark chocolate peppermint bark. Get the complete list of recipe ingredients, instructions, and nutrition in the recipe card at the bottom of this post.

Step 1: Add the dark chocolate to a microwave-safe bowl and microwave it in 30-second intervals until melted.

Step 2: Pour and spread the melted dark chocolate into a preaped 8×8 pan in an even layer. Top with crushed peppermint (candy canes). Chill until set.

Step 3: Add the white chocolate to a microwave-safe bowl and microwave it in 30-second intervals until melted.

Step 4: Pour and spread the white chocolate over the dark chocolate layer and top with crushed candy canes.

Step 5: Chill in the freezer until set.

Step 6: Cut the bark into squares or break into pieces and enjoy!
Pro tip – Line your pan with parchment paper to make it easier to remove the bark and cut it.
Expert tips for the best results
- Do not spread the chocolate too thick or too thin. If the bark is too thick it will be tough to cut and eat. If it is too thin, then it will likely fall apart. ¼ inch in thickness for each layer is about right.
- Use crushed candy canes for the peppermint topping. To easily crush the candy canes, place them into a ziplock bag on top of a cutting board and use a rolling pin or meat tenderizer to break them up into tiny pieces. You can also break them up and pulse them in a food processor.
- Allow each layer of chocolate to set. Before you add the white chocolate layer to the bark, make sure to allow the dark chocolate layer to fully set so you get two nice layers that stay together when you cut them.
- You can use an 8×8 pan or baking sheet. We used an 8×8 lined pan but a small pan lined (with parchment paper)will also work fine.
Substitutions and variations
We tested these delicious variations and they all came out great!
- Sugar-free peppermint bark – Use sugar-free chocolate and sugar-free peppermint candies.
- Protein peppermint bark – Stir in some chocolate protein powder (30g) after you melt the dark chocolate chips for a nice protein boost. We tested this with Orgain chocolate hot cocoa peppermint protein powder and it was amazing!
- Dairy-free peppermint bark – use dairy free chocolate.

How to store peppermint bark
Store this peppermint bark in an airtight container in the refrigerator for up to one week.
Can you freeze peppermint bark?
Yes, peppermint bark freezes very well for up to 3 months. To freeze it, spread it in an even layer onto a lined baking sheet and place it in the freezer for at least one hour. Transfer it to a freezer-safe container. Layered in between parchment paper and keep it in the freezer. Allow it to sit on the counter or in the fridge to defrost when you are ready to enjoy it.
FAQs
Peppermint bark is traditionally made of dark and white chocolate layers, mixed with a little bit of peppermint extract and topped with crushed peppermint.
Bark recipes get their name because, when broken into pieces, the finished treat resembles the rough texture of tree bark. Peppermint bark earns its name by incorporating peppermint flavor, making “peppermint bark” its commonly recognized title.
Most bark recipes are relatively healthy as long as you limit your portion sizes. This bark is under 200 calories per serving so it is a wonderful light, healthy holiday treat.

Did you try this chocolate peppermint bark recipe? If you did, then please leave a rating and comment below. I would love to hear how yours turned out!
More Healthy Sweet Treats
Looking for other recipes like this? Try these:


Chocolate Peppermint Bark – 3 Ingredients
- Total Time: 20 minutes
- Yield: 15 servings 1x
- Diet: Gluten Free
Description
Peppermint bark is the best festive holiday treat! This version is made with 3 ingredients – layered dark and white chocolate and topped with crushed candy canes. Wrap it up as a fun holiday gift or enjoy it as a delicious treat!
Ingredients
- 10 ounces dark chocolate chips – or a 4-ounce chocolate bar
- 10 ounces white chocolate chips – or a 4-ounce white chocolate bar
- 3–4 large candy canes – crushed into tiny pieces
- 2 teaspoons coconut oil – optional
- ½ teaspoon peppermint extract – optional
Instructions
- Line an 8×8 metal pan or baking sheet with parchment paper.
- Place the dark chocolate into a microwave-safe bowl (add 1 teaspoon of coconut oil if using and ¼ teaspoon peppermint extract if using). Microwave in 30-second intervals until mostly melted, then stir to fully melt.
- Pour the melted chocolate into the lined pan in an even layer and sprinkle crushed candy canes on top of it. Place into the freezer to set – about 10-15 minutes.
- Add the white chocolate to a microwave-safe bowl (add 1 teaspoon of coconut oil if using and ¼ teaspoon peppermint extract if using). Microwave in 30-second intervals until mostly melted, then stir to melt fully.
- Remove the set chocolate from the freezer and pour the melted white chocolate over it in the pan in an even layer, top with the remaining crushed candy canes. Chill in the freezer until set.
- Once the bark is ready, it should be firm and set in the pan. Carefully remove it from the pan and place it onto a cutting board. Use a sharp kitchen knife to cut it into squares or break it into pieces.
- Serve and enjoy!
Notes
- Use good quality chocolate. You can use chocolate bars of chocolate chips.
- Store leftovers in an airtight container in the fridge for up to one week. Or in the freezer for up to 3 months.
- Prep Time: 10 minutes
- Category: Healthy Desserts
- Method: No-Bake
- Cuisine: American


Leave a Reply